Styling Your Data
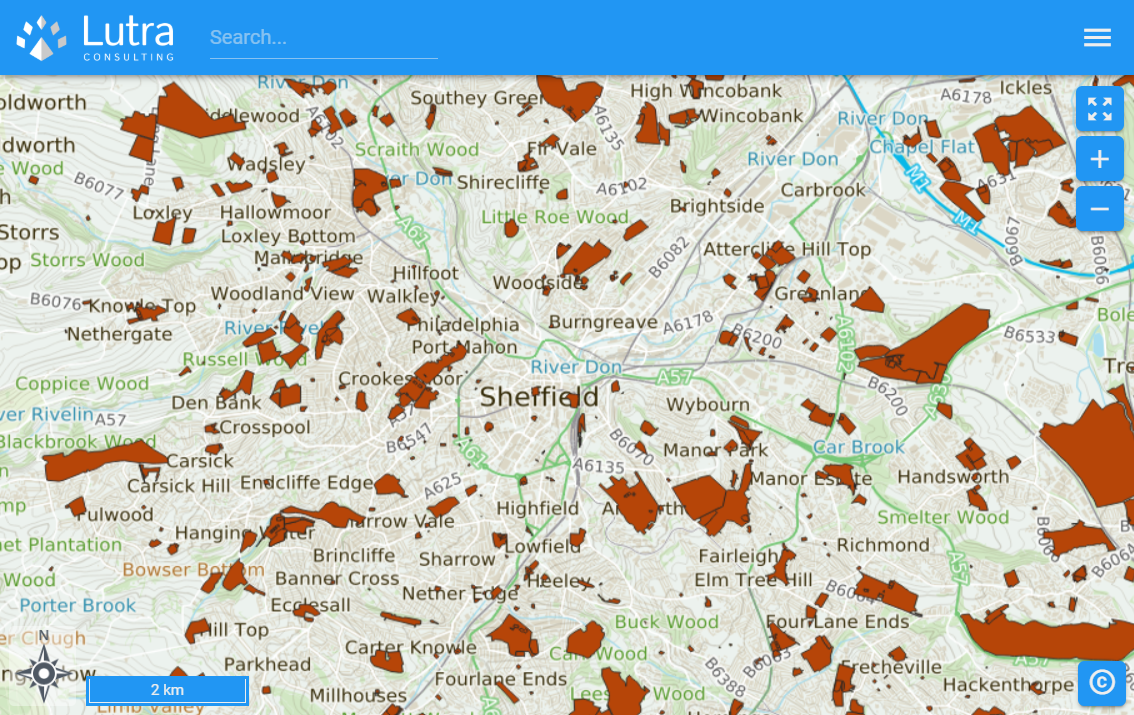
In the previous Quick Start chapter we published our first map. In this chapter we’ll learn about styling published maps and assign a sensible style to our green spaces data.
Back to QGIS
In order to change the styles of the layers in Mappin, we’re going to change the way they look in QGIS and then upload the project again.
As QGIS loads vector layers with random colours, your green spaces may not be green. We’ll change that now - making them green with a dark green outline.
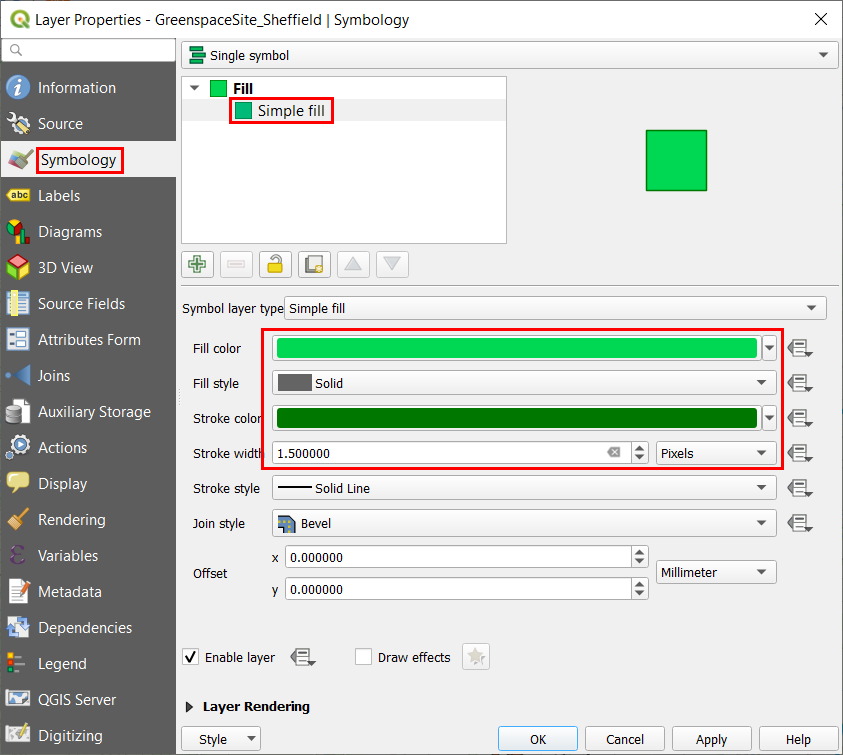
- Double-click the GreenspaceSite_Sheffield layer in the Layers Panel in QGIS
- Select the Symbology tab
- Click on Simple fill and Update Fill color and Stroke color green and dark green respectively
- Change the Stroke width to 1.5 Pixels
- Click OK
Please note that measurements in styles and labels in map units or mm may not end up being shown in exactly the same size as they look in QGIS. The size of such elements can be tweaked by editing the DPI parameter as described in the wms_server_url-label section of the cache documentation.
Nice - now our green spaces are green:
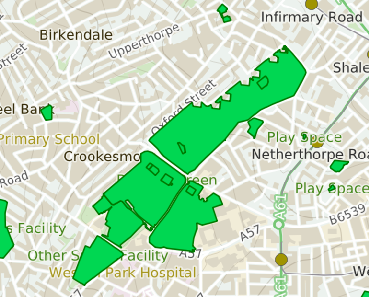
- Save your QGIS project
Seeing the Changes in Mappin
Now we’ve updated our QGIS project, let’s upload it again to Mappin.
- Navigate back to the admin interface for the sheffield project
You can open a project’s admin interface directly by navigating to https://YOU-admin.dev.cloudmappin.com/#/sheffield where YOU is your Mappin account name.
- Upload your updated QGIS project
- Reload/refresh (CTRL+R) the project in Mappin to ensure your browser gets the latest map data from Mappin
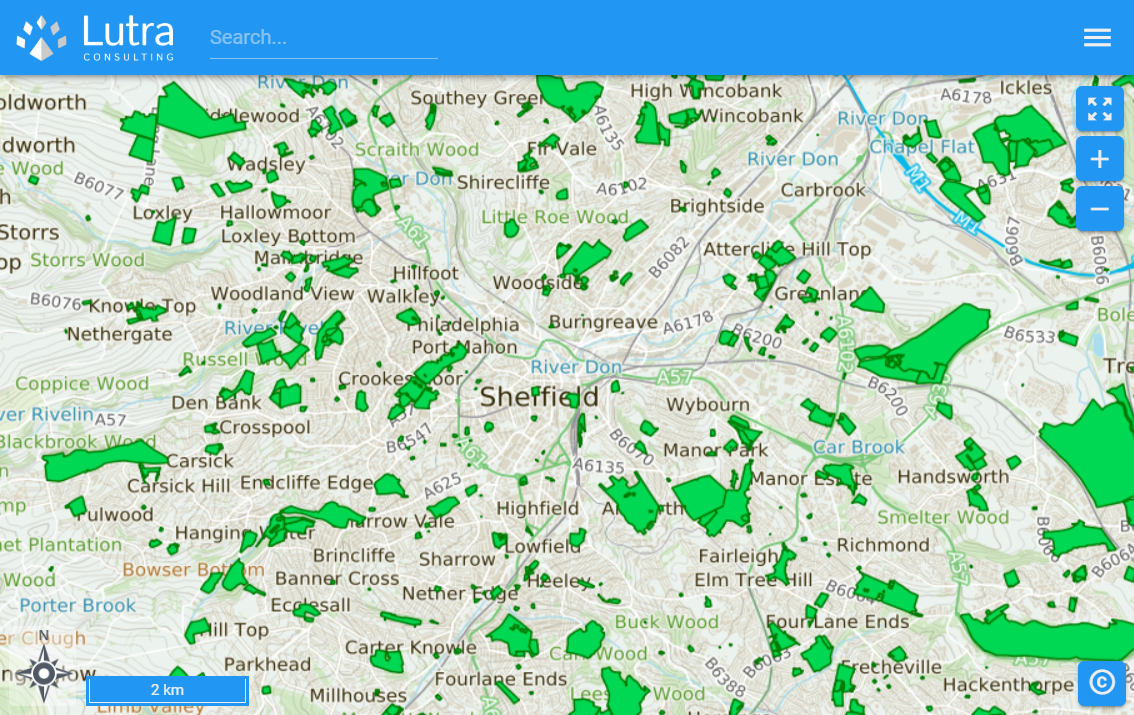
Now we can see our maps looking as we wanted them to.
Legend Images
Let’s take a look at Mappin’s legend:
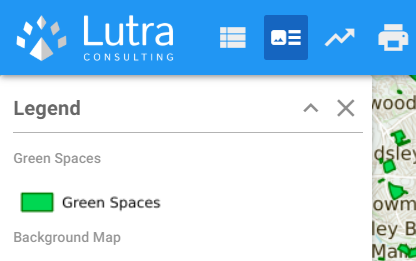
Notice the background maps also have an entry there - we’ll now disable legend images for the background mapping layer as it’s not really appropriate to display one.
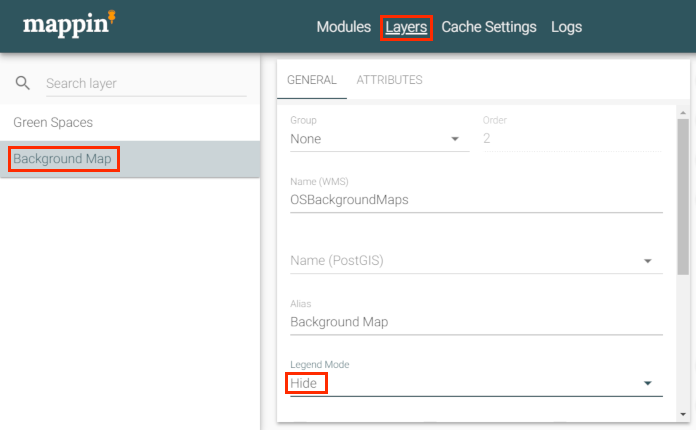
- In the Mappin Administrator interface, go to the Layers section
- Select Background Map
- Change Legend Mode to Hide
- Click SAVE CHANGES
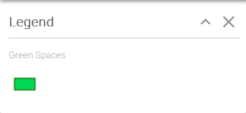
- Reload/refresh (CTRL+R) the project in Mappin
The legend should now only display an image for our green spaces layer.
The same setting we just used to hide legend images can also be used to specify an uploaded image file to use for a layer’s legend image.